


Let's get down to business...to defeat the huns! I have a LOT of diaper and wipes boxes. LOTS. I hoard them so that I can do things like this!!
Today, I got the itch to organize. I even opened up a new board in pinterest... I knew exactly where I wanted to go first. The dreaded hall closet upstairs which has been neglected since I moved into this apartment. Well, I shouldn't say neglected.. I throw things in there when I don't know where else to put them.
Take a look at my nasty closet and keep your judging to yourself :)


Gross. See what I mean about things just being thrown in there. Literally. It's embarassing. Try not to look at those pictures again... instead, let's view the disaster close up...


What do those two shelves need? (Besides a trash can)
BOXES!!!!! Something pretty to store everything THAT NEEDS TO BE THERE!!! Need is the key word here people. I threw away a whole trash bag full of crap from just this little closet.
So I put on my thinking cap, pulled out an unused wipes box, some fabric, my handy dandy glue gun and whipped these babies out.
You will not BELIEVE how easy it is! Best part... FREE. I'm a fabric hoarder remember??

Here's how you do it in pictures:


 |
| Pull fabric up around box and hot glue in place.. don't worry about it looking junky, we'll fix that later |
 |
| where the fabric folds over... don't worry about this junkiness either, it's getting fixed. WITH RIBBON! WOO! |
 |
| cut ribbon a little longer than the height of the box, place over those nasty seams (as seen above) an attache at both ends |
 |
| should look something like this - you only need to glue the top and bottom part of the ribbon - if you pull tight enough the ribbon won't gape on the box. It will look like it's glued down... without being glued down.... make sense?? |
 |
| attach the ribbon to the inside of the box also - to cover up that junkiness from earlier... glue both edges of the ribbon as well as your starting and stopping point |
 |
| will look something like this - but your corners should be flat... I obviously messed up on that corner. Boo. |
 |
| I made a cute little bow with the leftover ribbon and attached it to the middle... but you don't have to do that. |
SO easy. In fact, it was so easy, that I made two!!! But I made the second just a teensy bit different...
 |
| BEFORE |
 |
| AFTER |

They made such a different in my closet too... here are the before and after's of my shelves...
 |
| BEFORE |
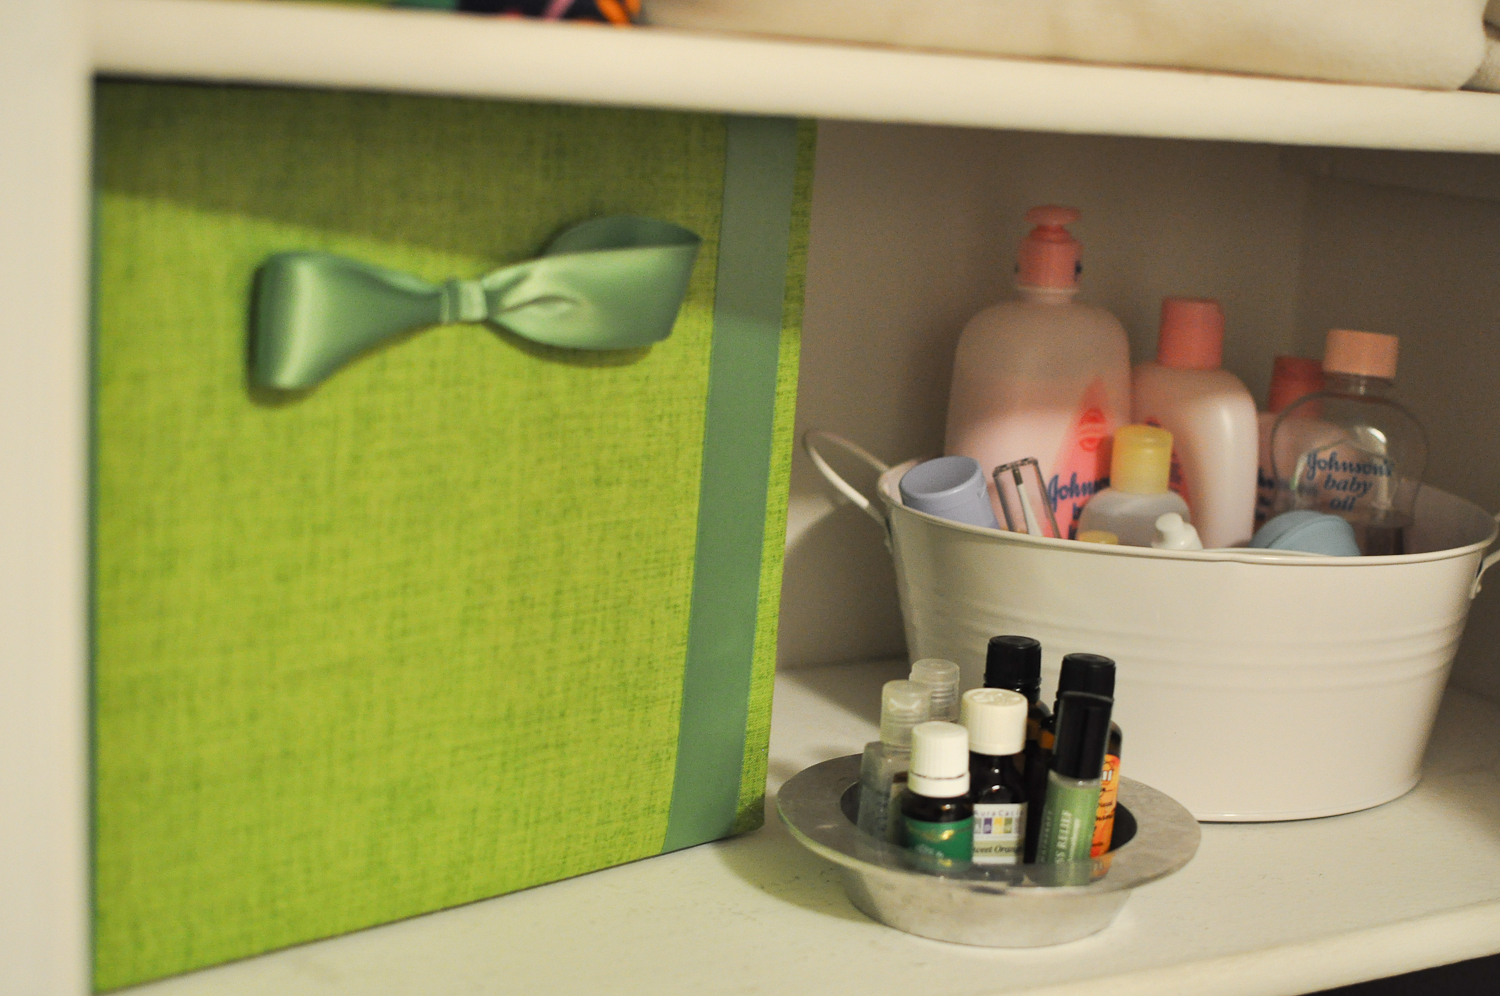 |
| AFTER |
 |
| BEFORE |
 |
| AFTER |

Organizing is a work in progress!! My one day focusing on my closet only got me this far - which is a HUGE improvement, but my closet is NO WHERE near organized enough! I still have to deal with the trash bags full of fabric on the top shelf... I told you I hoard it. For now, let's just focus on the beautiful new boxes that store everything I need them to and the fact that those two shelves, at least, look SO much better!!
Organizing can be fun. Plus, if you want to be happy, an organized home never hurts.
Your turn!!
Cute! I went through my closet today too. It didn't turn out this good. I still need to fold my towels. After spending many more hours than desired folding towels at Bed, Bath and Beyond I lack motivation for doing it at home. However, if you ever want to learn how to fold the towels like they do in the store let me know. They fit better and look great. (not that yours look bad)
ReplyDelete